
I've written previously on my love for the Kinesis Advantage 2 keyboard. Its form factor is by far my favorite physical layout for a keyboard, but I struggled with the noise it created, particularly locked in my small apartment during quarantine. As a result, I played around with other keyboards, like the tiny Keyboardio Atreus, to try to get a similar level of typing satisfaction while not making as much noise. And while those keyboards were a ton of fun to try out, I always looked longingly at my Advantage 2 on the shelf.
I am looking no more! Inspired by Giles Orr (link above), I decided to put custom key switches into my keyboard to make it quieter. The Cherry brown switches were nice and tactile, but after months of using ZealPC's Zilent V2 switches in my Atreus, I was hooked. I wanted a quiet and extremely tactile switch to use every day, and I wanted it in my Advantage 2. With no experience soldering, or really doing any electronic tinkering at all, I jumped into the project.
Finding parts
- PCBs
- Switches
- Diodes
- Soldering equipment
The first step in the process is to find all the parts you might need. Unfortunately, the switches I wanted were rather expensive. At $1 per switch, it cost a pretty penny to order them. I justified it to myself by saying that if I used the keyboard every day, the optimal typing experience would be well worth it. I didn't want to go through a whole sampler of switches, since it's nearly impossible to tell how you're going to enjoy the feeling until you've installed them in a keyboard, so I went ahead and ordered 70 Zilent V2s.
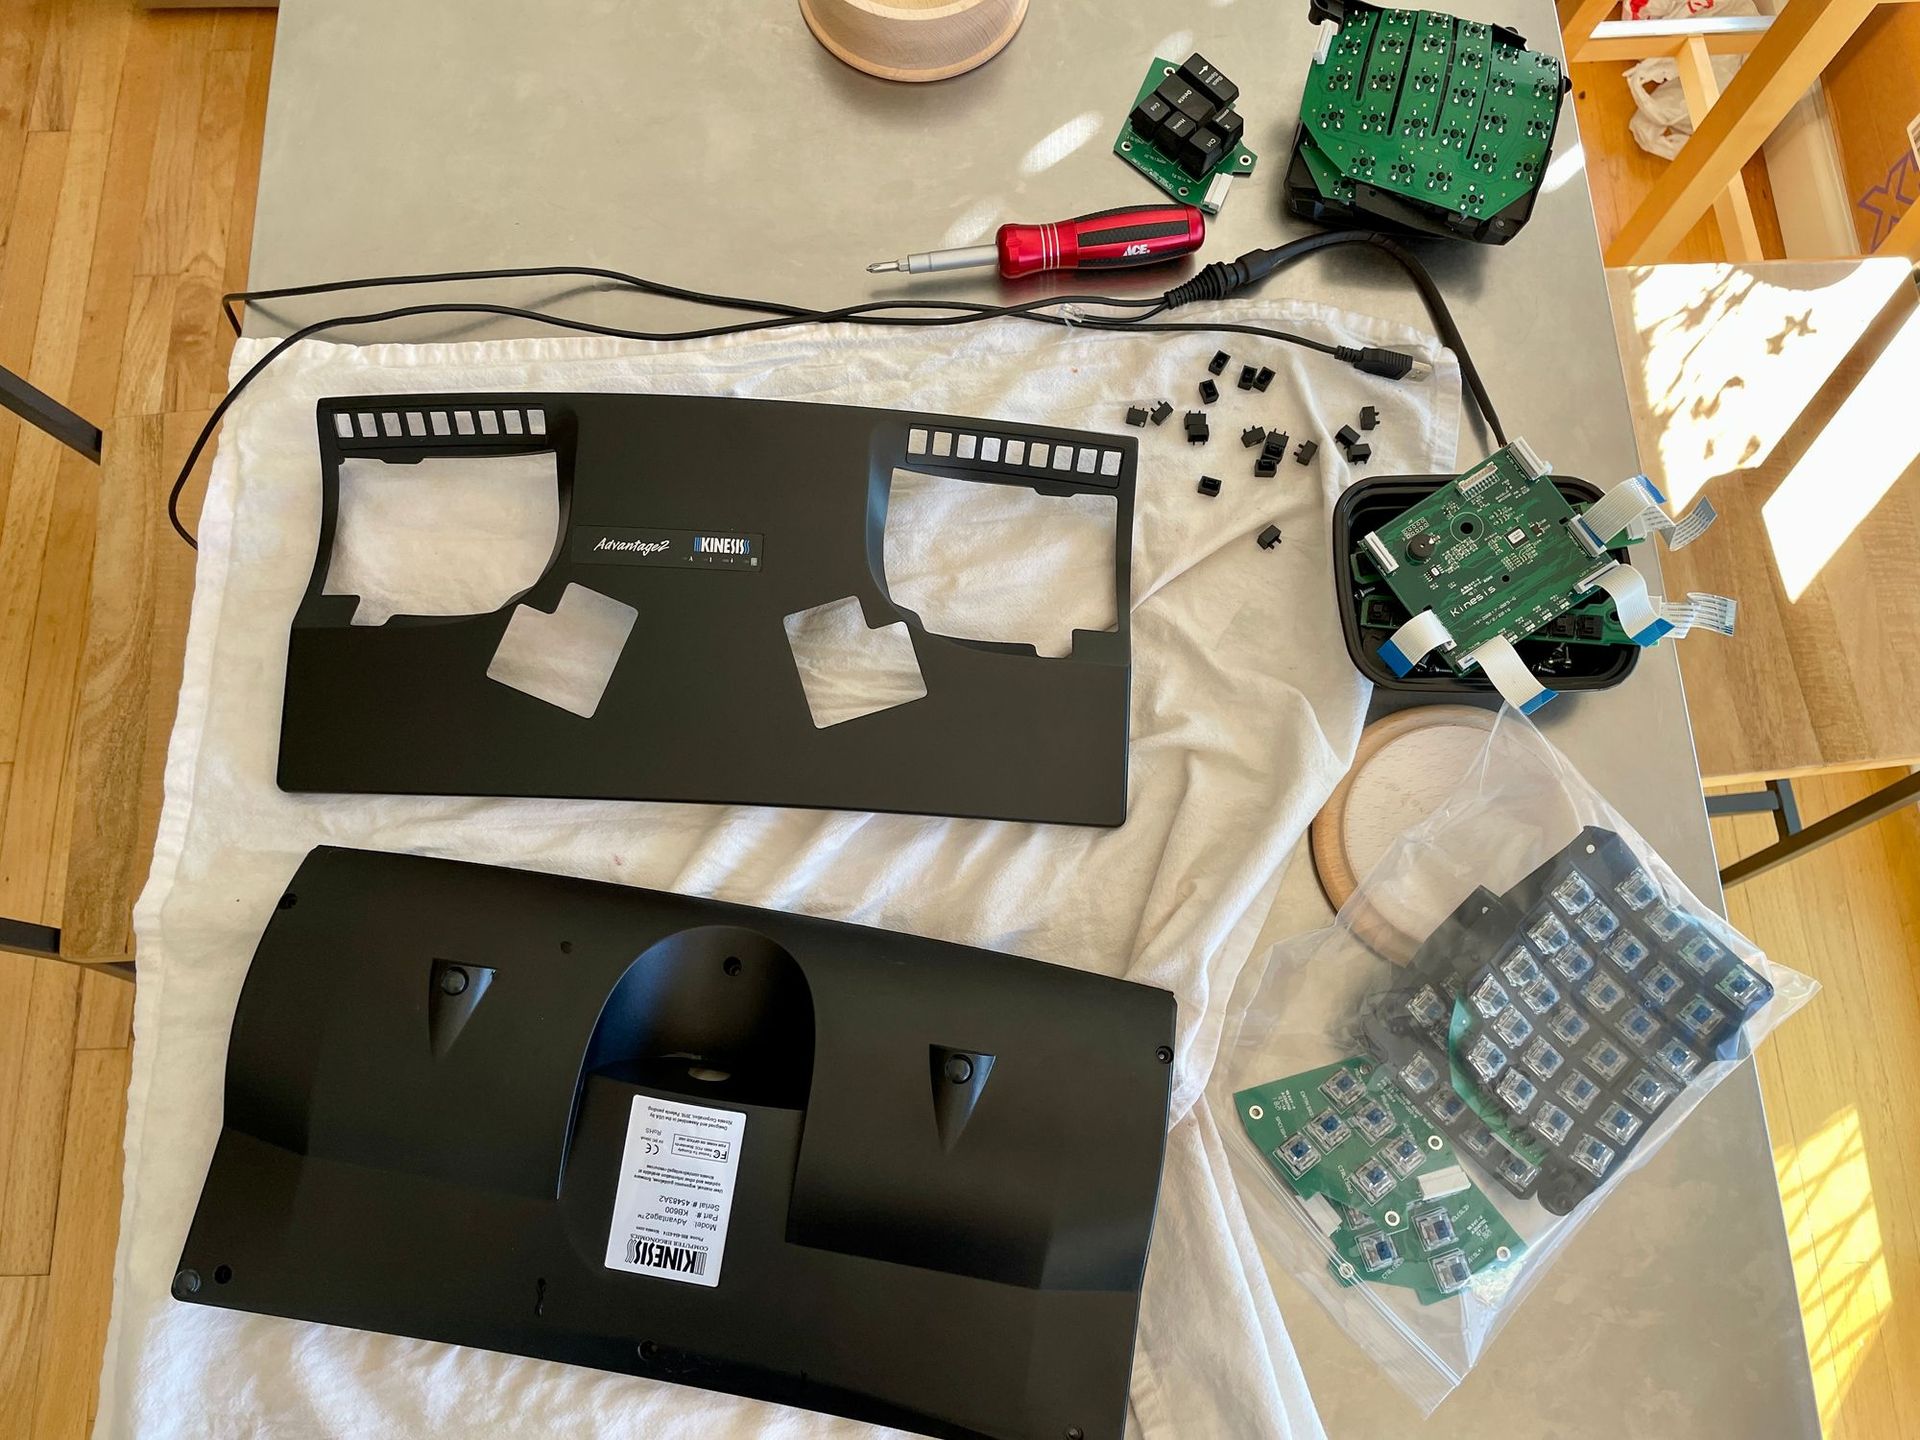
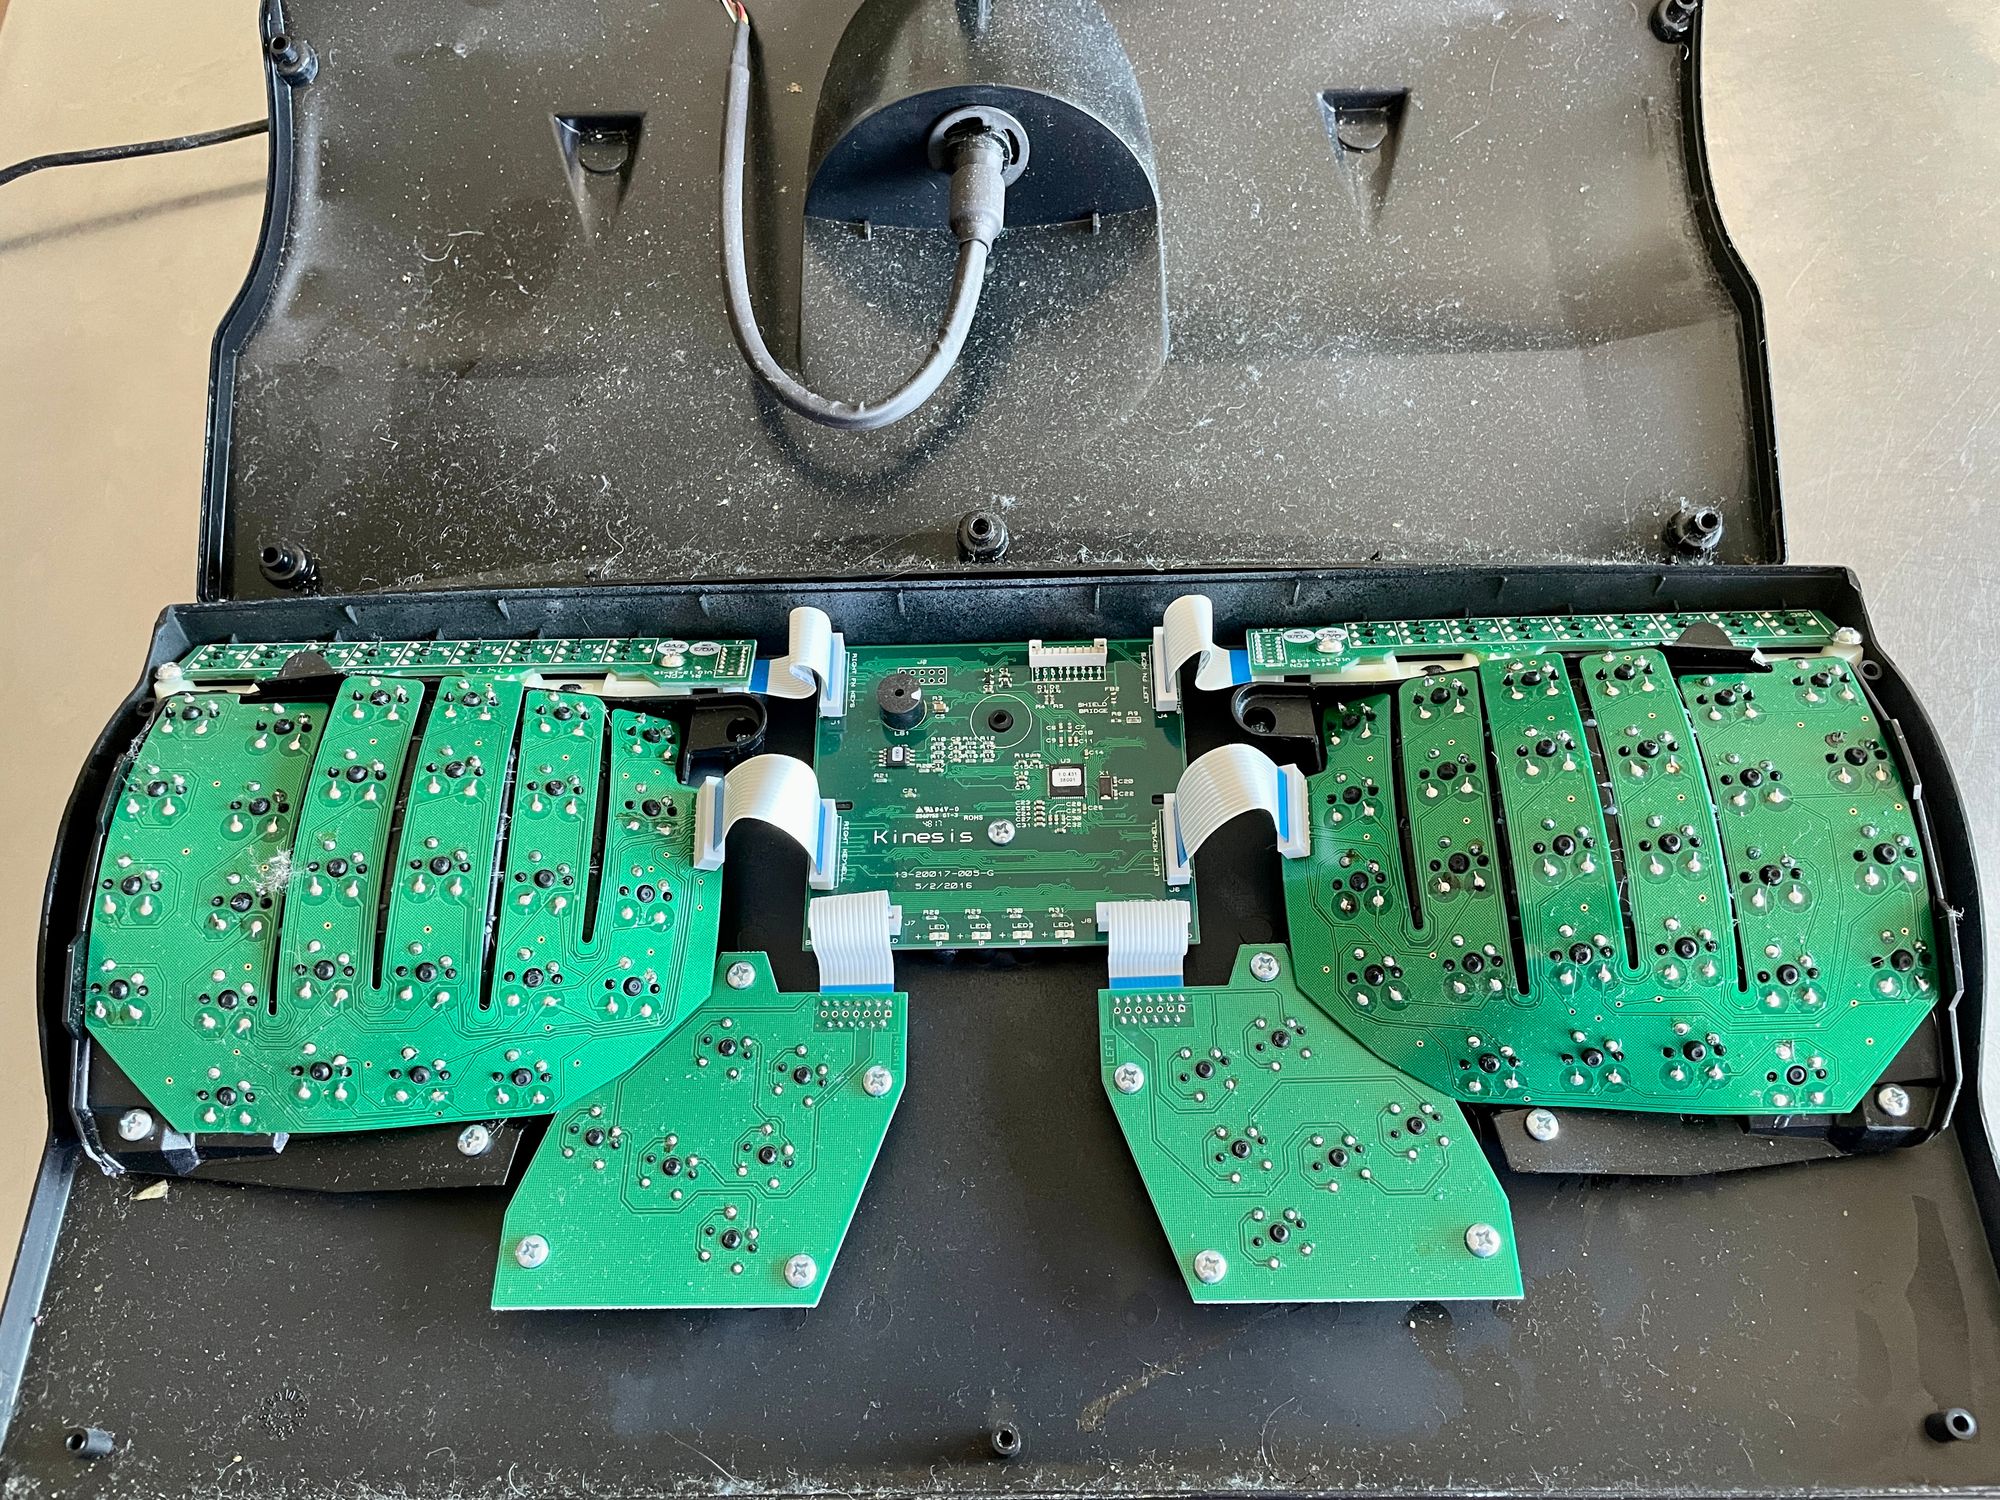
The second step was to find a new PCB. I could learn how to desolder the existing switches and reuse the boards that were already in my keyboard, but that looked very difficult for a first soldering project. I decided to buy a new set of boards from Kinesis directly; one side of the keyboard costs $50, so this was another $100 for the project. Again, the justification was that enjoying the typing experience would make it worthwhile, and I really, really didn't trust myself to do the desoldering.
Once I had the boards in hand, I waffled. I couldn't commit to actually going through with the project for months. And because I knew I need to do some extra work to make my 3-pin switches into 5 pins, I kept putting off the process. At some point my fiancee put her foot down on the keyboard gathering dust on the shelf, and I went out and bought a soldering iron off Craigslist, some solder, and a 100 pack of diodes. My lack of electronics experience made me very afraid of buying the right diodes, and while it seems that any 1N914, 200MA, 100V diode will do, I don't feel qualified to provide any links.
All in, supplies cost me about $550 (keyboard included).
Preparing switches
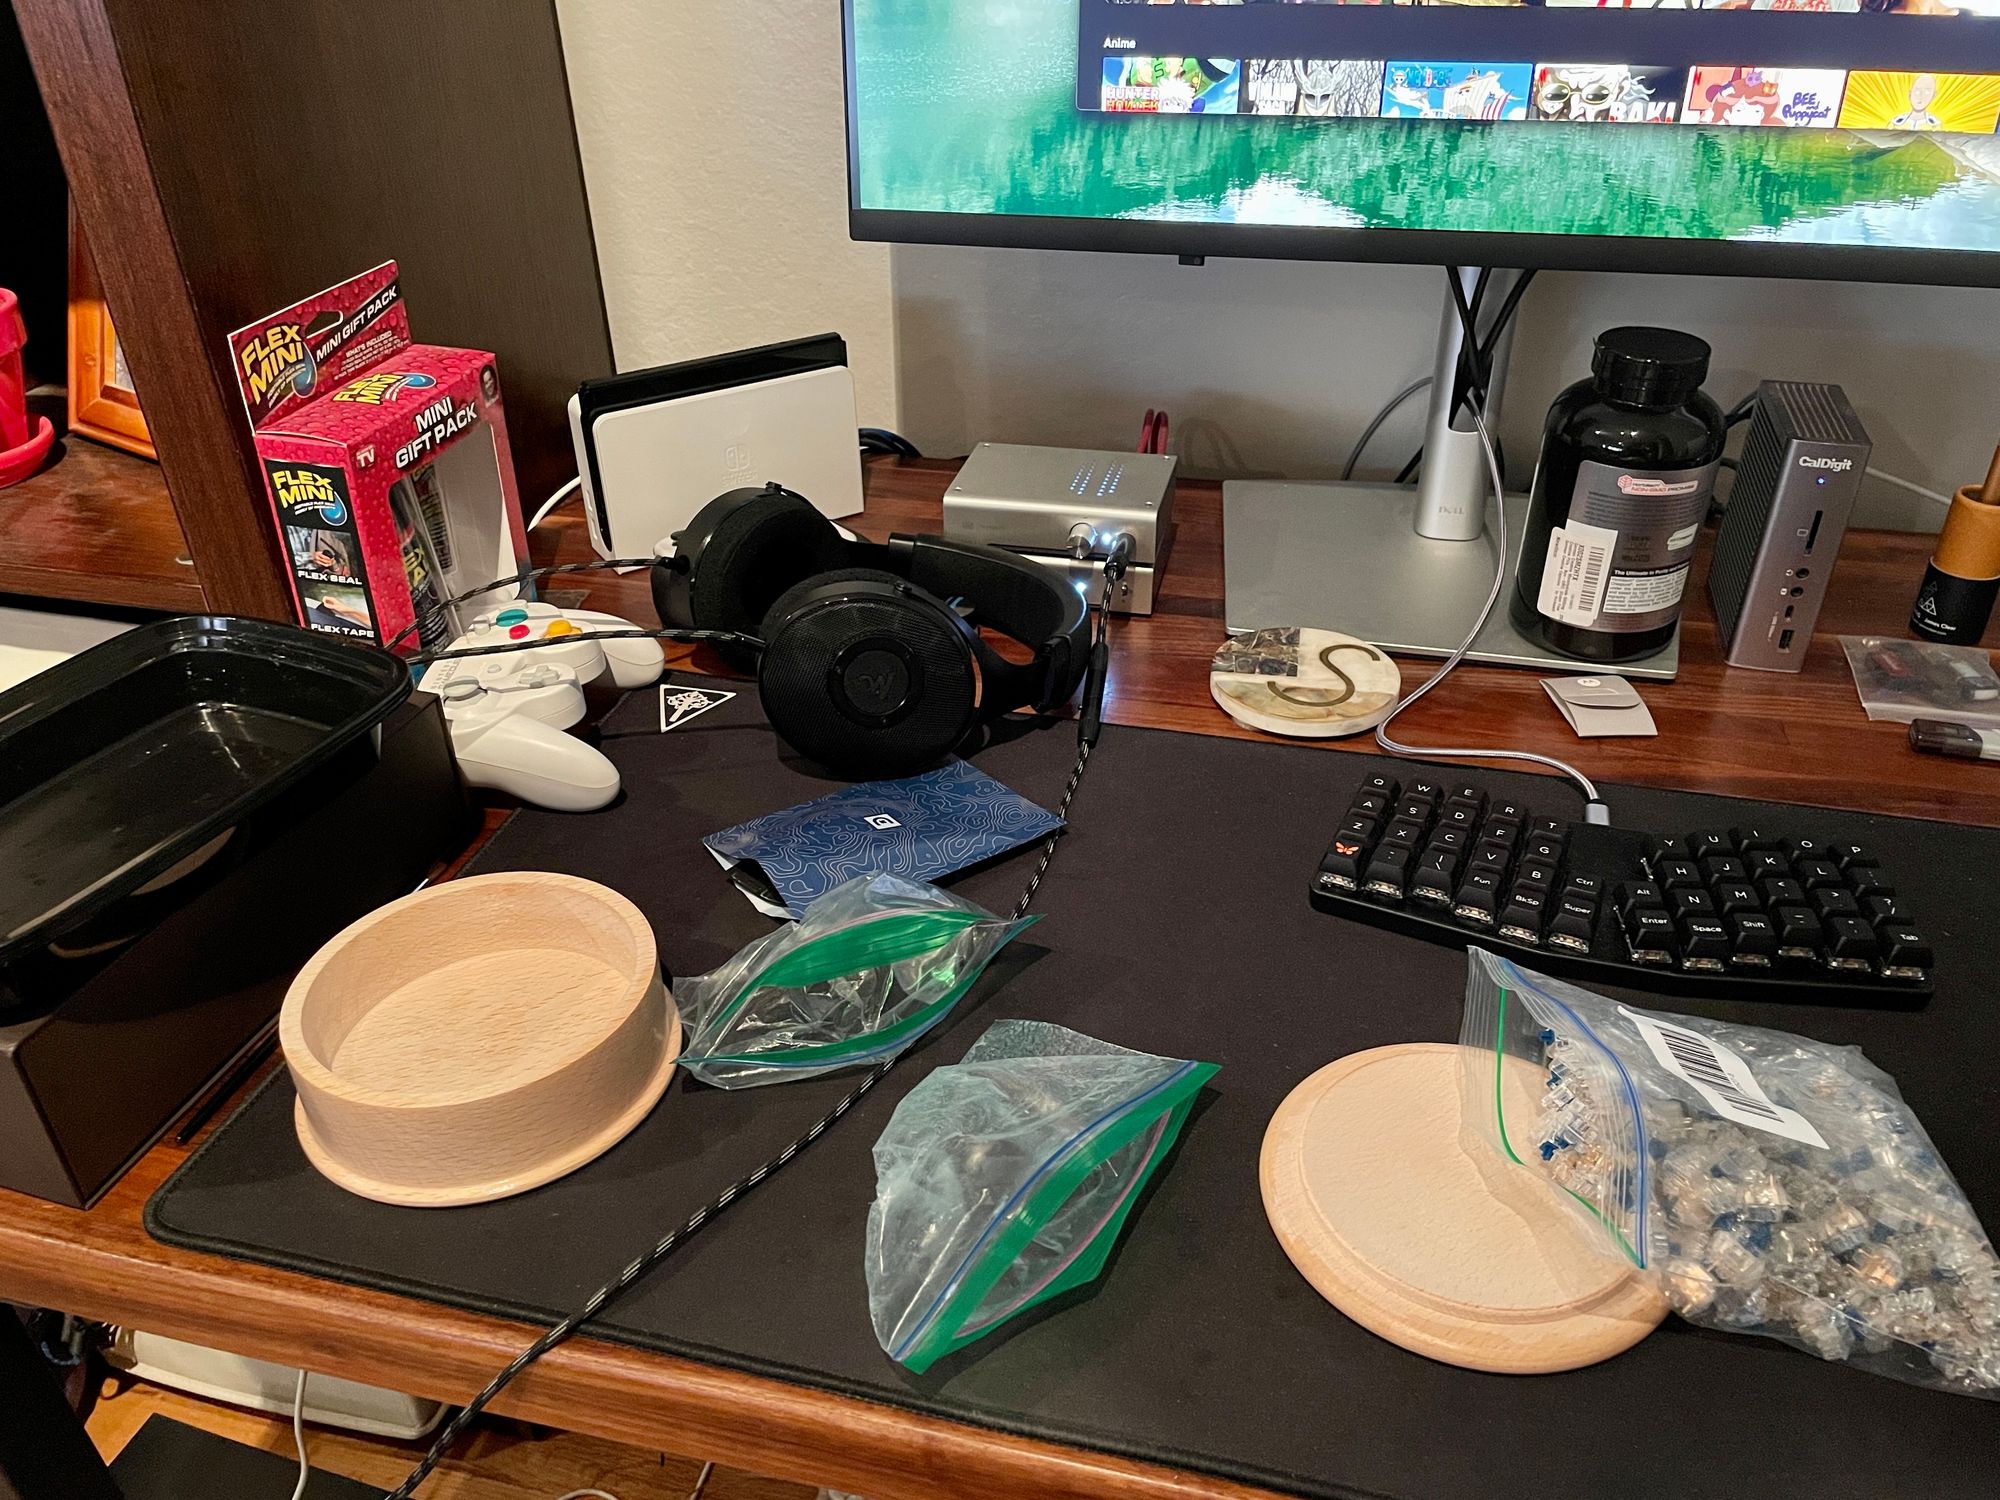
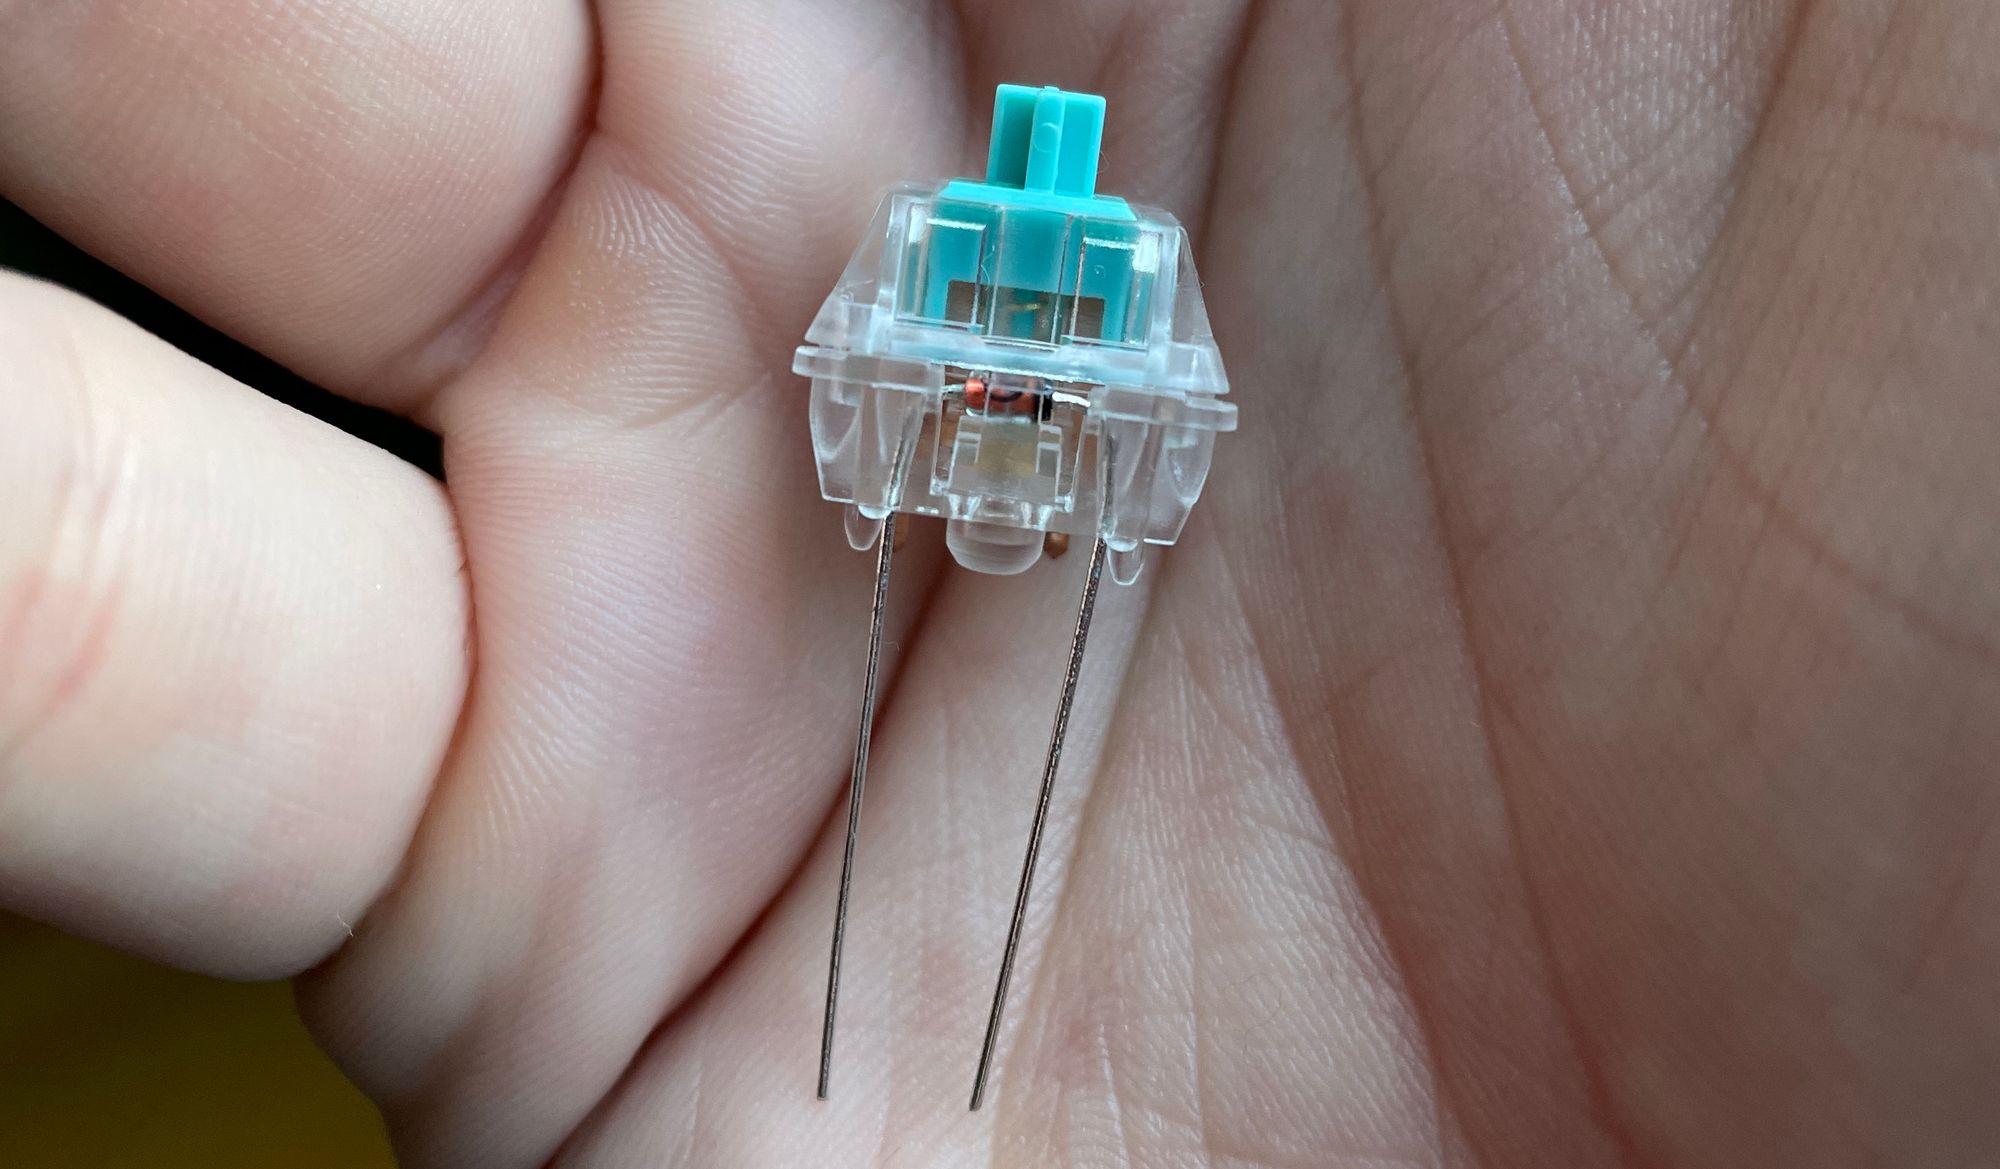
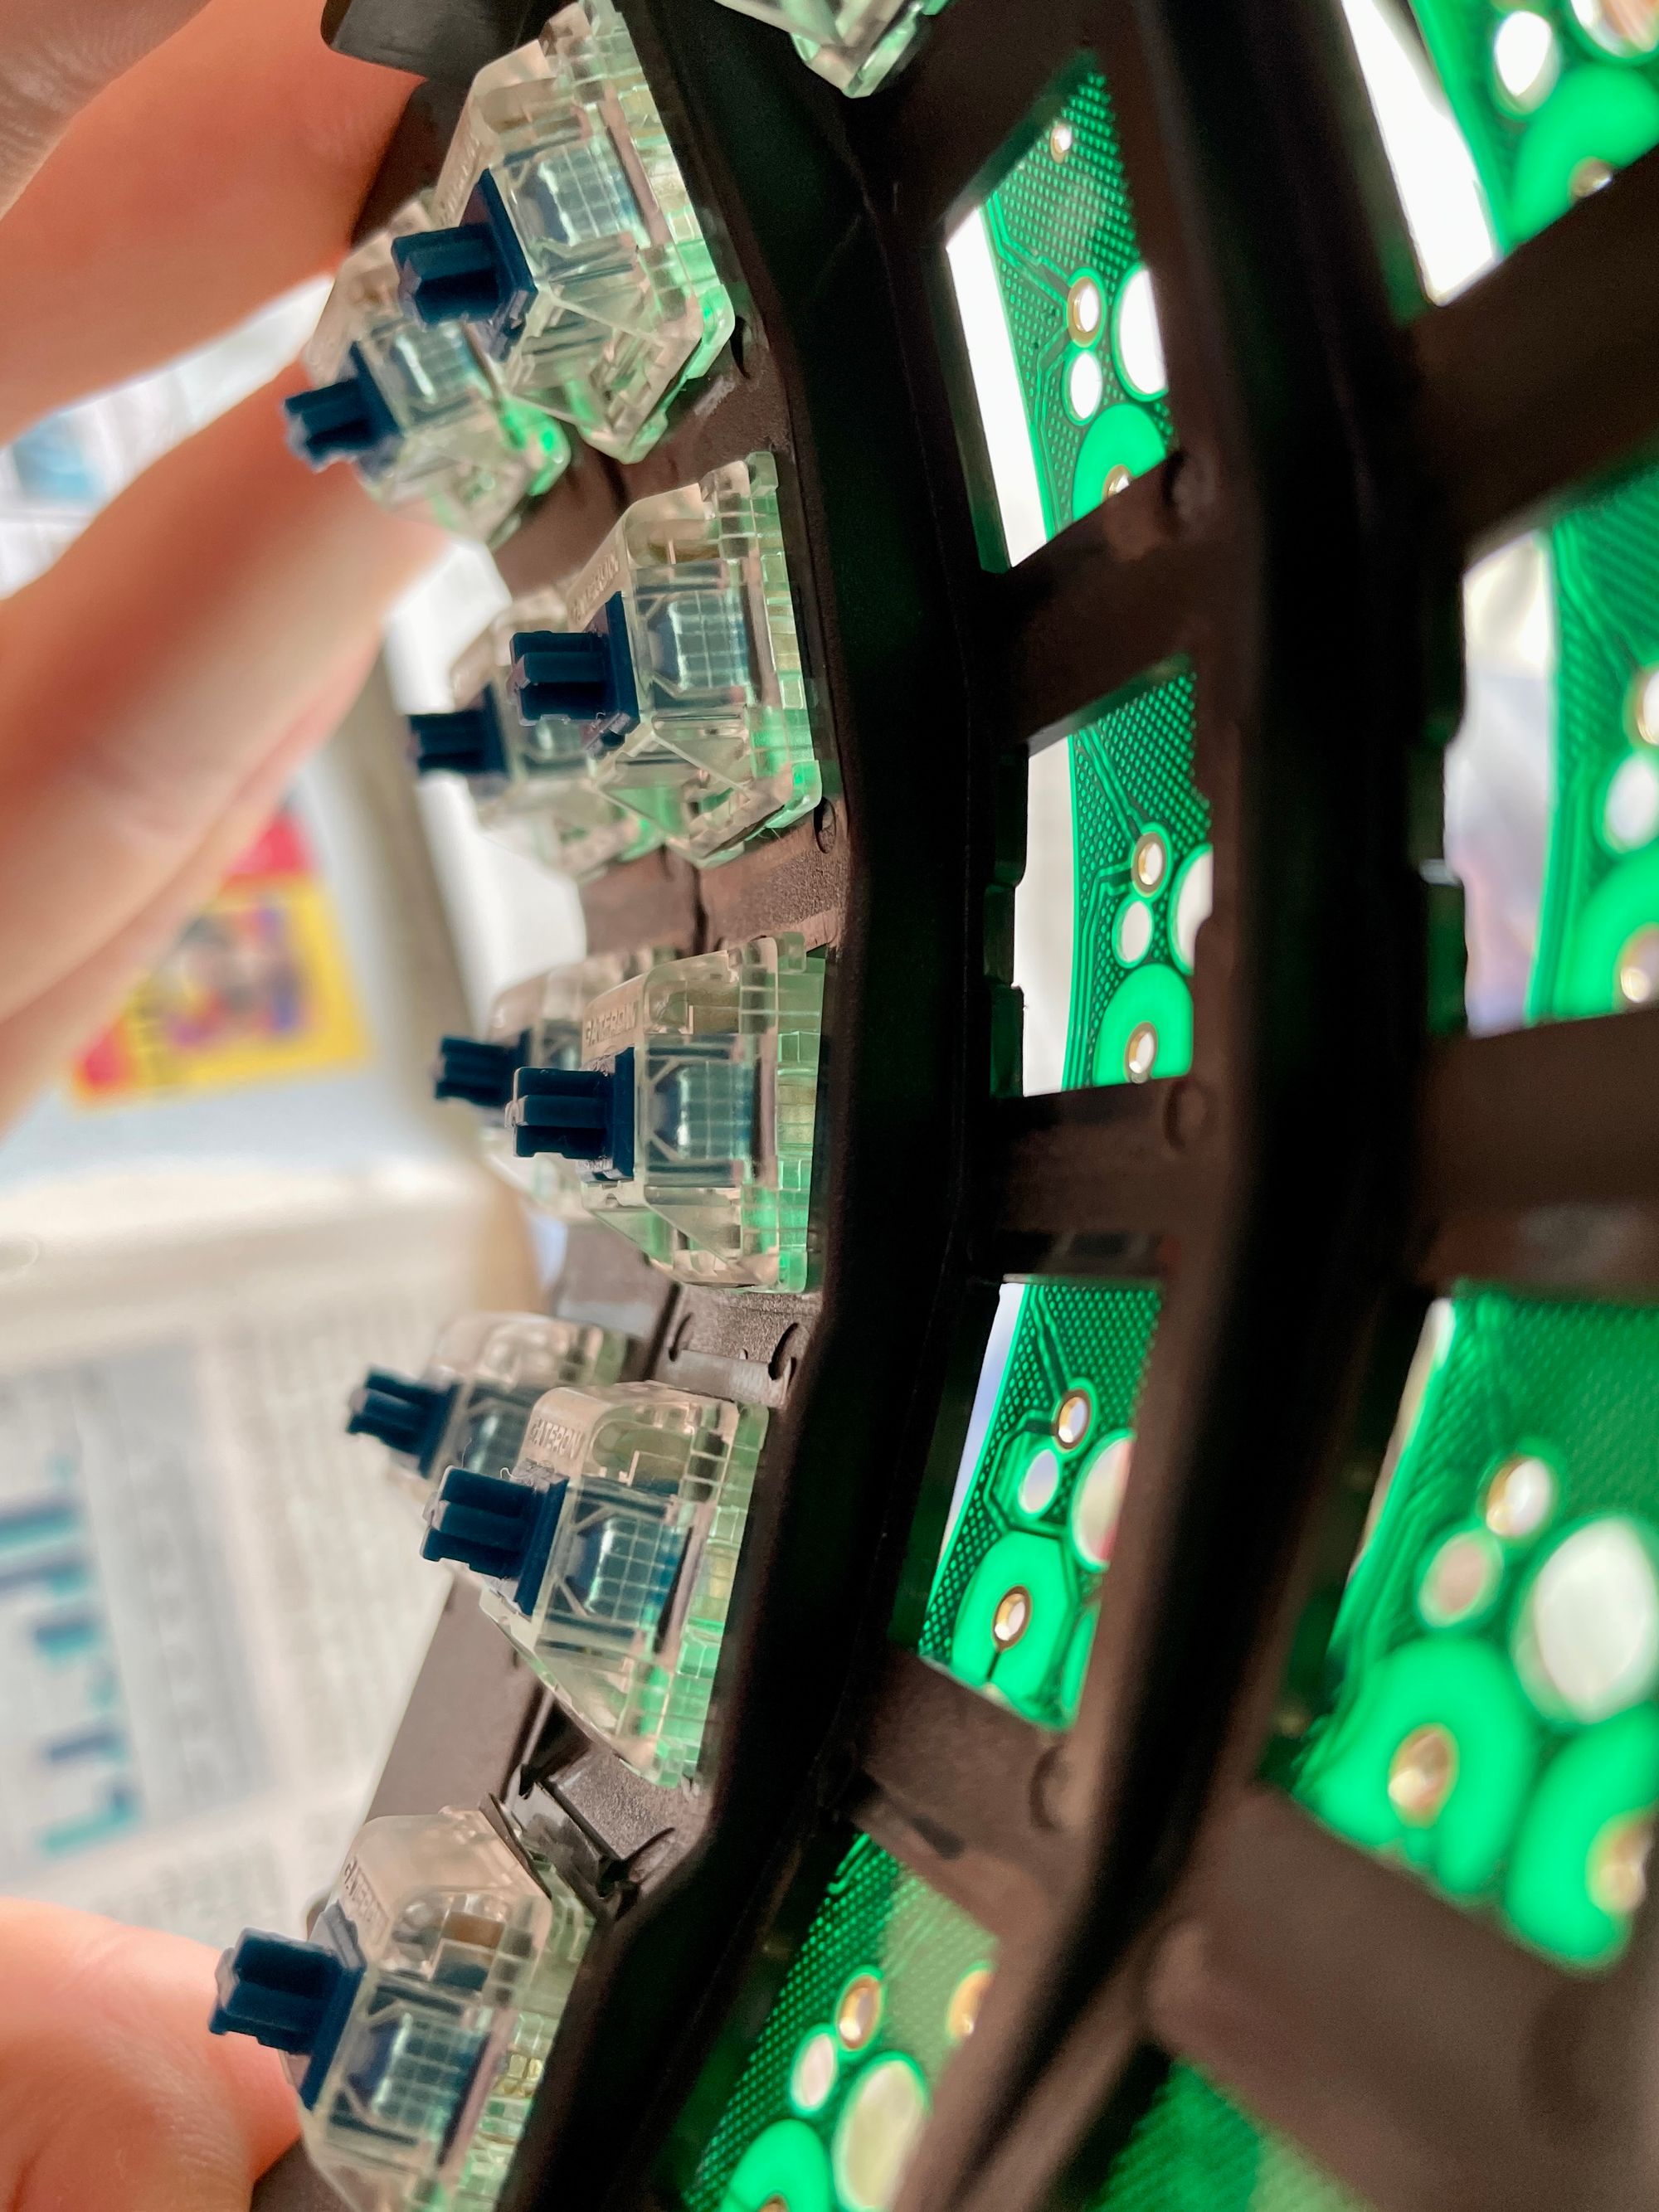
Lubricating, filming, and putting diodes into switches takes a long, long time. I know from experience that I much prefer the feeling and sound of lubricated and filmed Zilent switches, so I used my leftover Krytox 205G0 lubricant and switch films to make the magic happen.
The goal of lubrication is usually to make the switch stem slide more easily. In certain situations, you can make the switch almost feel weightless, like it's floating in water. While you typically wouldn't apply any lubrication to the stem of a tactile switch (since it would reduce the tactility), the Zilent switches are so incredibly tactile that you can do it.
What I'm looking for with lubrication is a side effect of decreasing friction: less noise. By reducing the friction in the switch, I reduce the amount of noise they generate.
Adding films to the switch theoretically reduces the amount of wiggle available to the housing, again removing some noise from the process. I've also found that the films tend to lower the frequency of the switch sounds, which makes them sound even quieter.
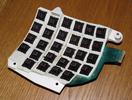
The part I had never done before, but new was necessary to complete the project, was to add diodes to the housings so that I could correctly connect the switches to the PCB. Some switches can be purchased with 5 pins of connectivity out of the box, but most only provide 3. I spent a good hour verifying and re-verifying that I was orienting my diodes the correct way in the switches
The process to actually apply my modifications to the 68 switches took about 6 hours, though I was distracted by Netflix for most of that time. It's an extremely time-consuming process, but I find it rather rewarding and I know the end product is something that will be well worth the time.
Soldering
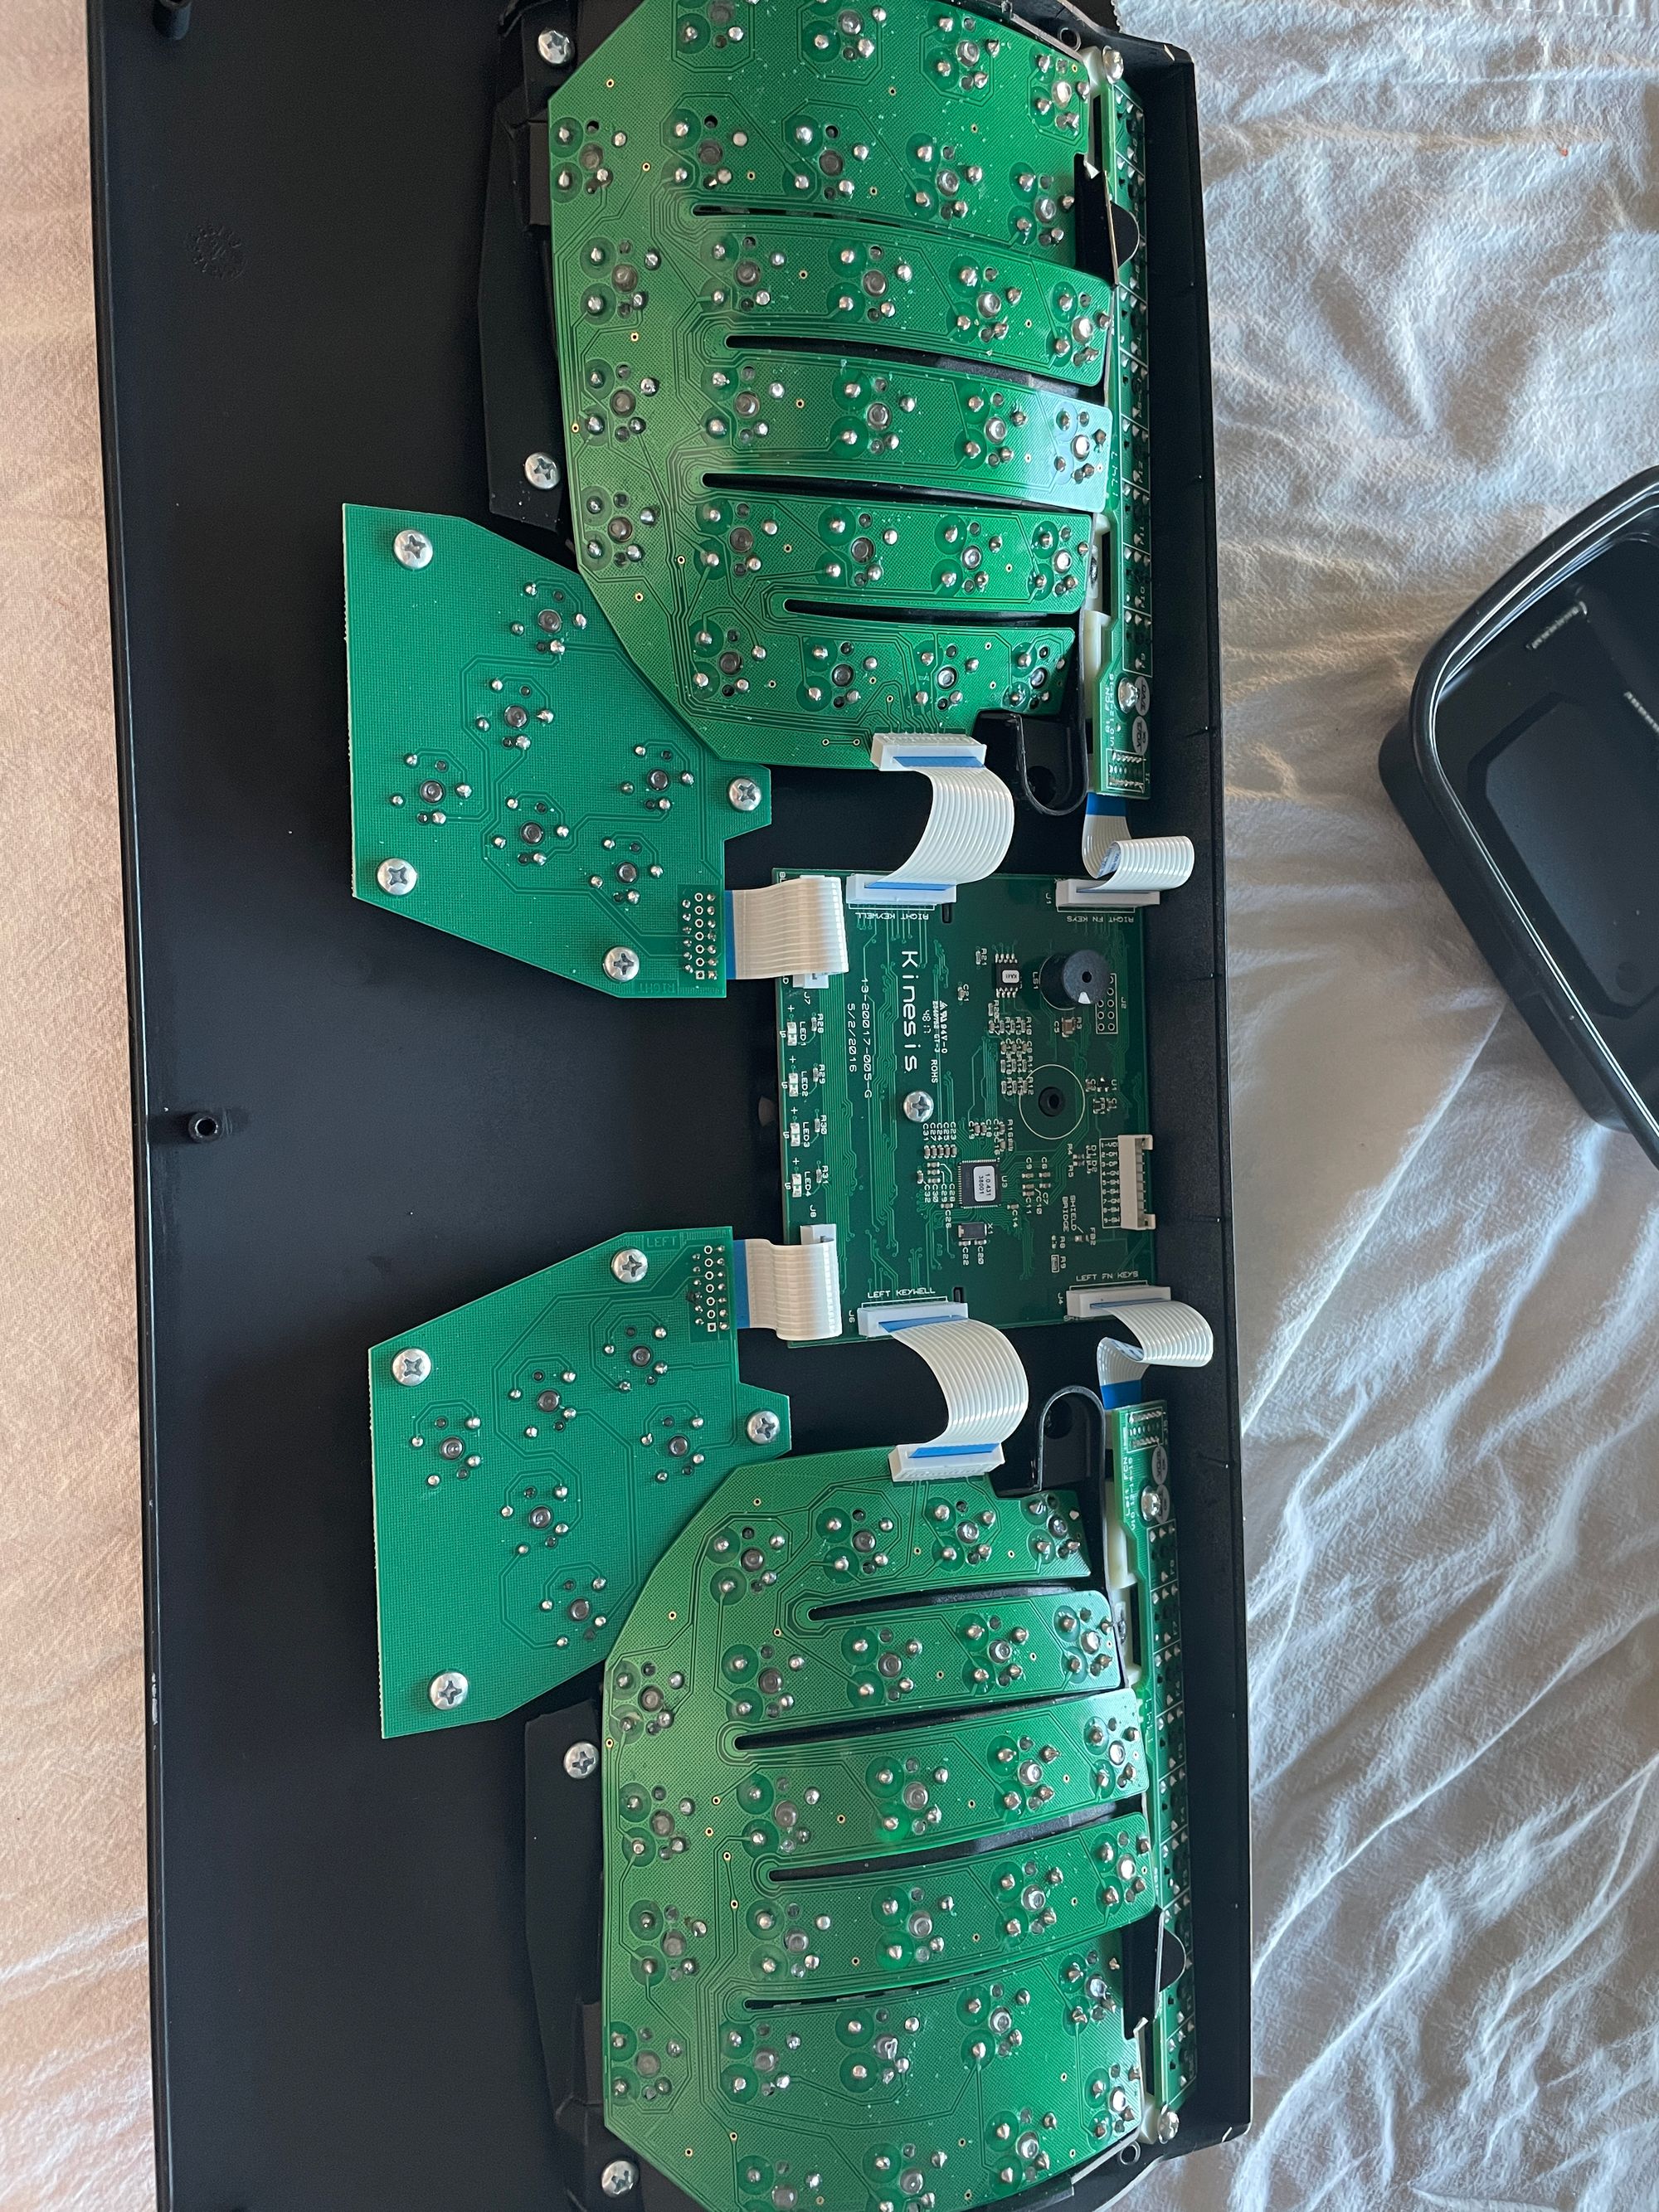
This was my first time soldering, and I was extremely worried about soldering the curved keywells. So, I started by soldering the thumb clusters, which are flat and straightforward. Soldering is easy!
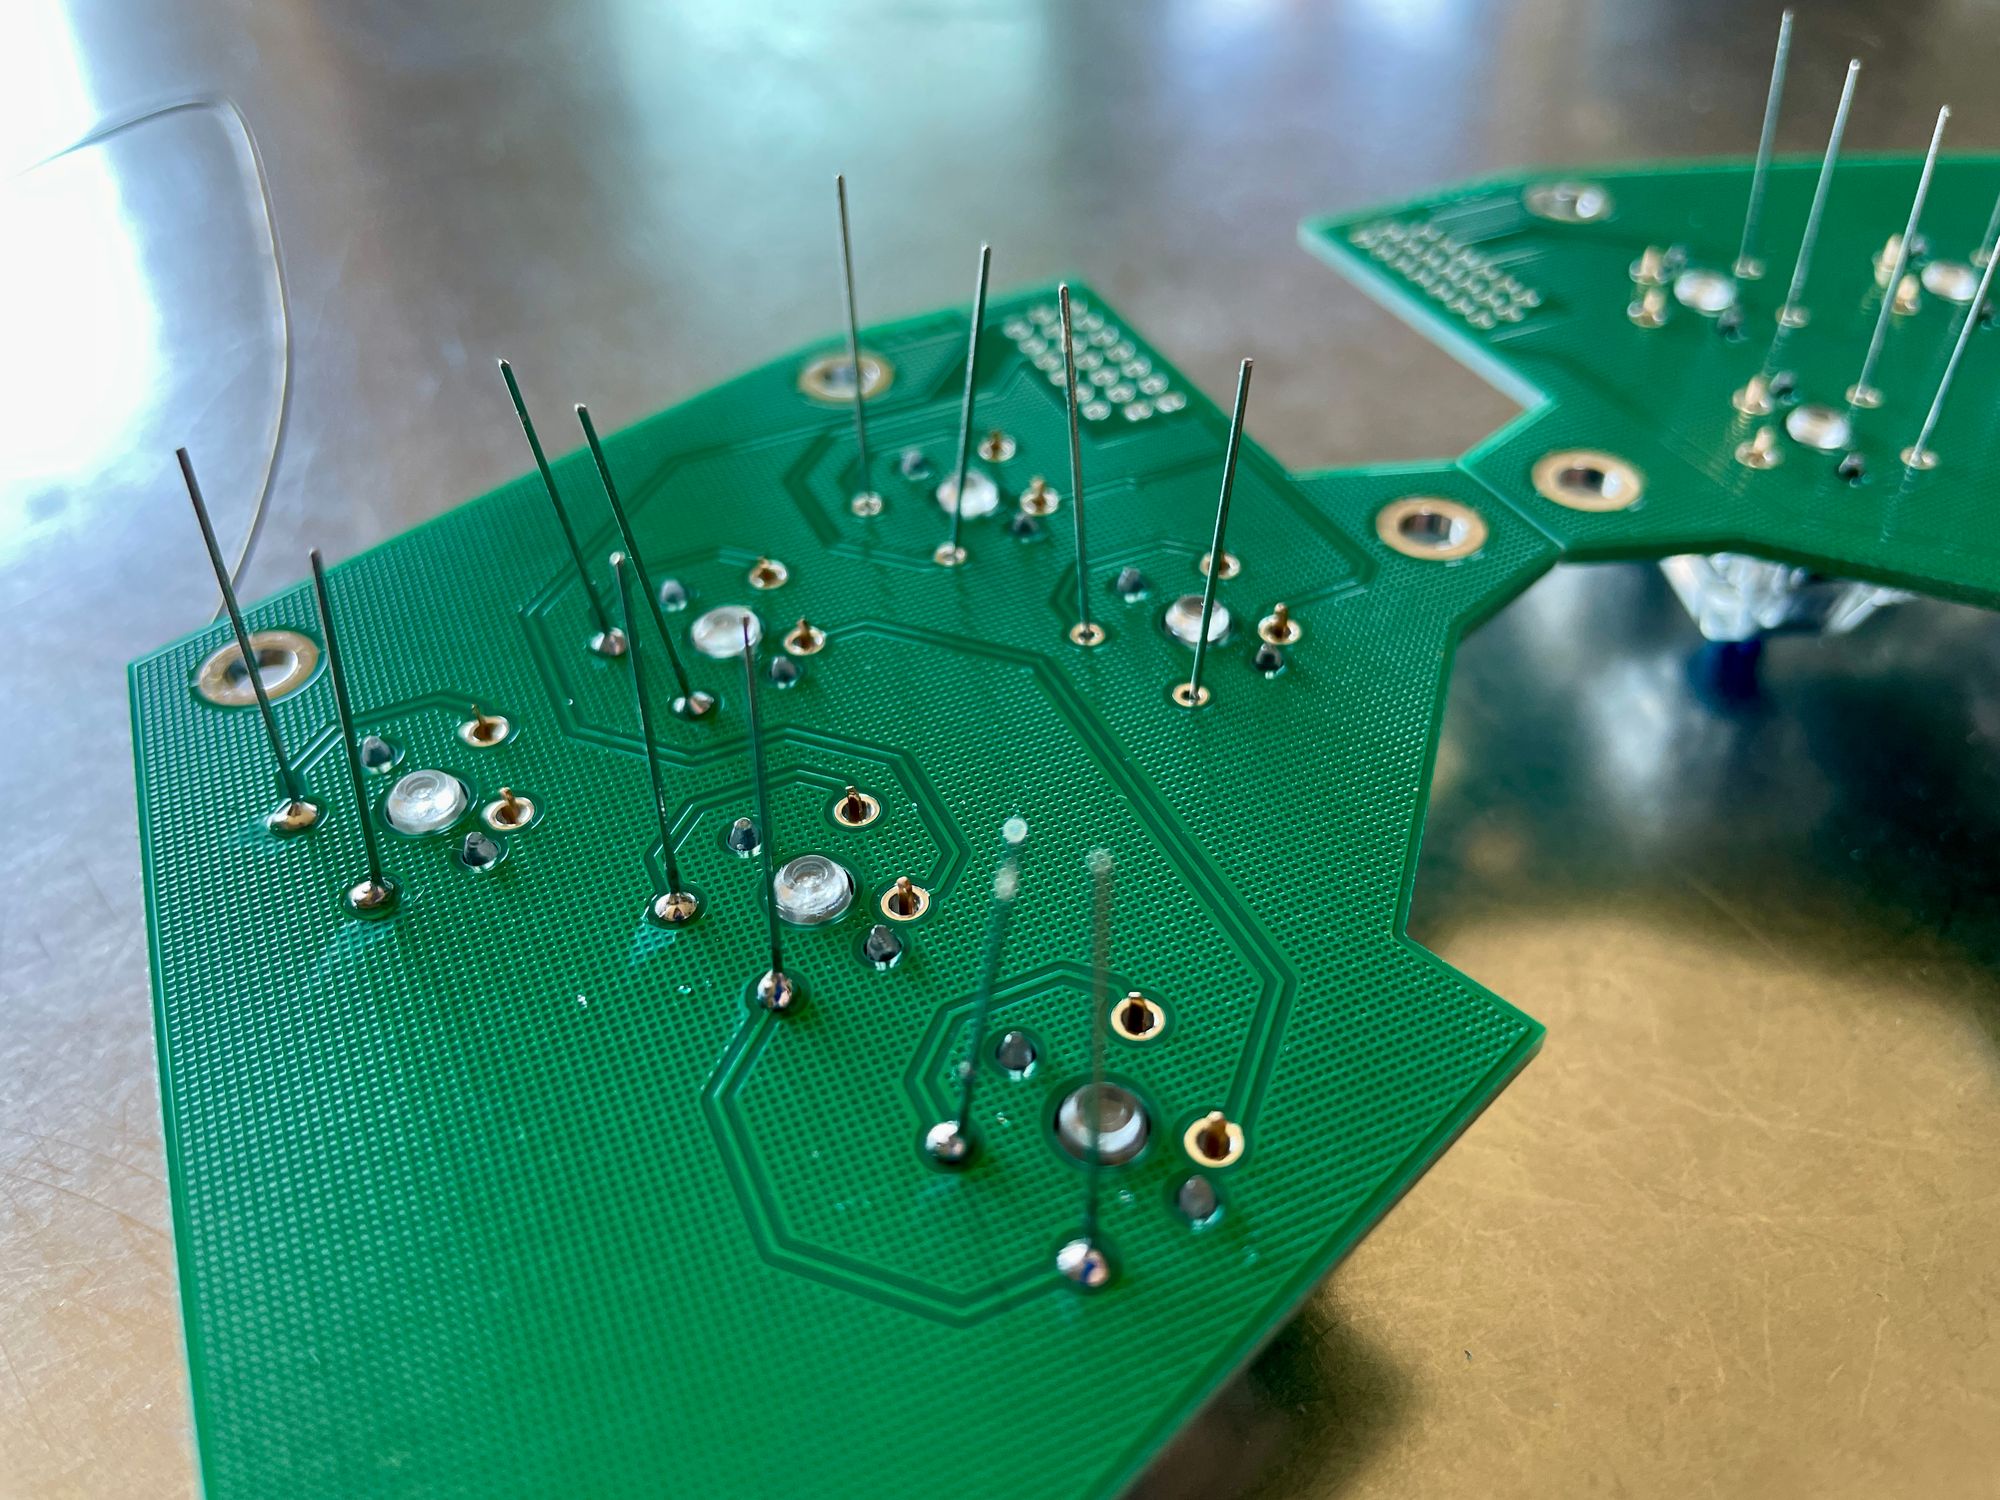
Then came the keywells. These were extremely challenging. I couldn't consistently keep the key correctly attached to both the plastic well and the PCB, leading to some keys being improperly set. This ended up working out in the end, but for a bit I thought I would have to undo a few joints to make things work. After a fair bit of frustration and attempts to re-solder joints, I managed to get the switches into a reasonable state. I called it good enough, but when I actually installed the keywells into the chassis, I found I could push the switches in to be seated correctly. Whew!
There were also issues getting the contacts to align correctly with the switch legs, and I had to strategically drip solder through the PCB to find the switch legs for contact.
Basically, I would never recommend this project for someone doing their first soldering work. It was a ton of work and I would have benefitted from more experience. By the time I got to the second keywell, I was already performing significantly better and making better joints.
Cleaning
After more than 5 years of use, my keyboard was disgusting. Replacing the old keywells gave me the chance to clean out the chassis, and the results were... extreme. Take a look.
Final product
I couldn't be happier with the final product. My keyboard is finally quiet enough to use at my desk in the apartment, and I have renewed my love for the form factor. While the Atreus was tons of fun to play around with, there's something special about a full sized keyboard.
I don't necessarily feel more productive with the new setup, but I love the feeling of typing on ultra-tactile switches. I don't think I'm using my computer more and typing faster, but I love the way the keywells let my fingers travel. The Advantage 2 is still my favorite keyboard shape in the world, and I can now, finally, use it every day.
