
I don't think I want this blog to turn into a recipe outlet, but at the moment it's all I can think of that will fill my desired 5+ minute post goal.
I've baked quite a bit of sourdough in the last year while I was stuck away at home and figured I could put some of my learnings on the internet. My sourdough starter recently died of a mold infection and sourdough has been on my mind, but unfortunately I don't have any images of the bread making process like I did for my tart recipe.
Timeline
This recipe is unfortunately very involved. This is great if you're stuck at home like many of us were during the pandemic, but is not so great if you have to commute in to a job (or just have things to do). The approximate timeline is here, but I'll try to note where you can shave off some time.
- 15 minutes to mix all your ingredients together and form the dough. Call it 20 after cleanup.
- Every half hour (or so) for the next 6 hours (or so), you'll spend 5 minutes folding the dough.
- 20 minutes to shape the dough.
- 1 hour to let the shaped dough rise.
- Overnight in the fridge to let the dough rest.
- 1 hour of baking.
- At least 1 hour to rest after baking.
You should also make sure your kitchen is a normal temperature: between 65 and 80 degrees Fahrenheit (18-28 Celsius) seems to be fine, but it'll affect the rate at which your dough rises.
The Dough
Sourdough bread has a very short ingredient list. You'll often see recipes use a baker's percentage to scale the recipe up or down, so I've included those to try to be helpful.
- 500g white whole wheat flour
- 100g active sourdough starter (100% hydration)
- 10g salt (baker's percentage: ~2%)
- 400 grams water (baker's percentage: ~80%)
Some other useful things that you may need to throw on the shopping list:
- Rice flour. I lost my first few loaves because I didn't realize how important rice flour was.
- A (clean) flour sack or linen towel to rest your dough in. Fuzzy towels will not work.
- A razor blade, sharp knife, or kitchen scissors.
- An oven-proof pan to bake on. I use a 12 inch cast iron skillet.
- A spray bottle.
Form the dough
Use a very large bowl to mix your ingredients. Remember that your bread will rise and (at least) double in volume.
People on the internet will tell you that the order in which you add ingredients is important. They'll also tell you to not add the starter before the salt. I'm here to tell you it doesn't make much of a difference, but you can make things a little bit easier for yourself if you add the dry ingredients (salt and flour) separately from the wet ingredients (starter and water).
Mix your ingredients in a bowl until no dry flour is visible. It should still look quite scraggly as we haven't developed the gluten strands yet. I usually do this by hand to help work out the dry pockets, but you can make it work with a spatula.
Fold your dough
When using yeast from a packet, you don't need to be gentle. That yeast has been bred to produce the most aggressive rise possible, and you'll often see instructions for bread include a step for knocking the air out of the dough. We can't do that with sourdough starter doughs because the rise is so gentle and slow. To make things doubly complicated, we can't even knead most sourdough bread the same way as "normal" bread because the hydration (amount of water relative to the amount of flour) is too high. The dough just sticks to your hands and you'll fail to develop the strong gluten strands we want in a good bread.
Introducing dough folding. It's pretty simple really: get your hands wet to prevent sticking, lift an edge of the dough ball until it starts to break (or looks like it will), and flop it over to the other side of the dough ball. You then rotate your dough slightly and repeat those steps until it gets hard to fold. That's it!
If a picture is worth a thousand words, a video is worth even more. This is the most concise video I found:
For the next 5 hours or so, you should fold your dough in its bowl every 30 minutes (or so). You don't need to set a timer as the timing isn't super important, but you do want to give it fairly regular attention. I've gone an hour without checking my dough and it's been fine, but you risk large air pockets and underdeveloped gluten if you let it sit for too long.
After a few rounds of folding you'll notice your dough becoming smoother and smoother. That's the gluten developing, and it's exactly what we want. When you notice the dough ball smoothing out, you'll want to start checking for gluten development after every round of folds. This can happen after an hour, or it might take 4 hours. Every kitchen environment, flour brand, and sourdough starter is different!
Check your gluten development
Gluten is a family of proteins that are very common in grains like wheat and they have very elastic properties. Without gluten, the gas output from the yeast would escape from the dough. But gluten forms networks of elastic and adhesive structures that capture that air, allowing your dough to "rise".
You want your gluten network to be strong before you start shaping and baking your dough. Without well-developed gluten, your loaf will collapse as soon as you move it. So how do you test your gluten development? You try to break the elastic network and see how far you can push it!
Pull a little piece of your dough ball up (but don't break it off!) and try to spread it as thin as you can before holes start to form. If you can get it thin enough to see your fingers on the other side, your gluten is well-developed. This is called the "window pane" test and it's very hard to get wrong.
Once your dough passes the window pane test, you can stop folding. I try to let my dough rise until it's doubled in size, which usually puts my total folding+waiting time at around 6 hours.
Shape your dough
The goal of shaping is to force the dough into its approximate final shape, with enough tension on the gluten network to have it hold that shape. It should create enough tension on the top of the loaf so that it turns into a nice, round crust after baking. It should get rid of any unnecessary pockets of air (big air pockets are undesirable), and it should validate that your gluten development is strong.
The basic motion for round bread is to push the dough ball away from you while rotating it slightly, and then to pull it back with your fingers dragging along your work surface, tucking a small amount of dough underneath and adding tension to the top layer. I found this pretty straightforward, but when your dough is extra sticky things can feel pretty hopeless. I recommend slightly wetting your work surface to reduce the chance of the dough getting really stuck, but you can also refer this FoodGeek video if you're a visual learner (starting around 2:45):
Now, there are things that can go wrong. If your gluten hasn't developed enough, you'll keep adding tension to the ball until the gluten network on top breaks! This is unsalvageable in my experience. You'll have to hope the bread tastes good because it sure won't be a looker.
Rest your dough
A large part of shaping is the resting container you put your dough into. I use a bowl one size smaller than my mixing bowl and that seems to work pretty well (plus I don't have to wash the mixing bowl right away). Some people have fancy resting baskets that add ridges, but I don't have that kind of equipment. Round loaves are all you get in my house!
Dust your towel with rice flour and rub it in a little. Rice flour does not have gluten and so won't interact with the high hydration dough. I've ruined loaves by trying to use whole wheat flour instead; it absorbed into the dough and then wouldn't come free of the towel. I highly recommend just buying rice flour, and if you're like me it'll last forever because you don't use it for anything else.
Once your have your dough in its resting container, dust the top of the loaf with rice flour and cover it gently. It's now ready for a long rest in the fridge.
As far as I can tell, this step matters! My loaves were inconsistent until I started letting the rest in the cold overnight, but I couldn't tell you why. My guess is that the cold makes the gluten network more rigid and gives you a better chance at avoiding collapse. Some people talk about better flavors, and that one is provable (certain bacteria don't develop in the cold while others do) but comes down to preference.
The Bake
Once you're ready to pull the dough out of the fridge, things move fast.
A quick note here: everyone's oven is different. My oven has 2 hot spots that I avoid, and in addition I've found that my loaves tend to burn on the bottom if I put them on the lower racks. It'll probably take you a loaf or two before you dial in your oven's needs.
Preheat the oven
The first thing I do when I wake up and know I have sourdough to bake is turn on the oven. You need your oven hot before you can think about baking sourdough. I crank mine up to 550 Fahrenheit, stick my cast iron pan in to heat up with the oven, and then go about the rest of my morning. It takes my oven about an hour to warm up.
Get the dough in the pan
Once your oven is hot, take the pan out of the oven and put it on the stove.
Take a deep breath, prepare your scoring device, and flip the cold dough onto the pan. Now you need to move fast; your dough has already started cooking.
Scoring the loaf
As funny as it sounds, this step is non-optional. You must make deep incisions in your dough right before it goes in the oven or the bread will burst in random directions.
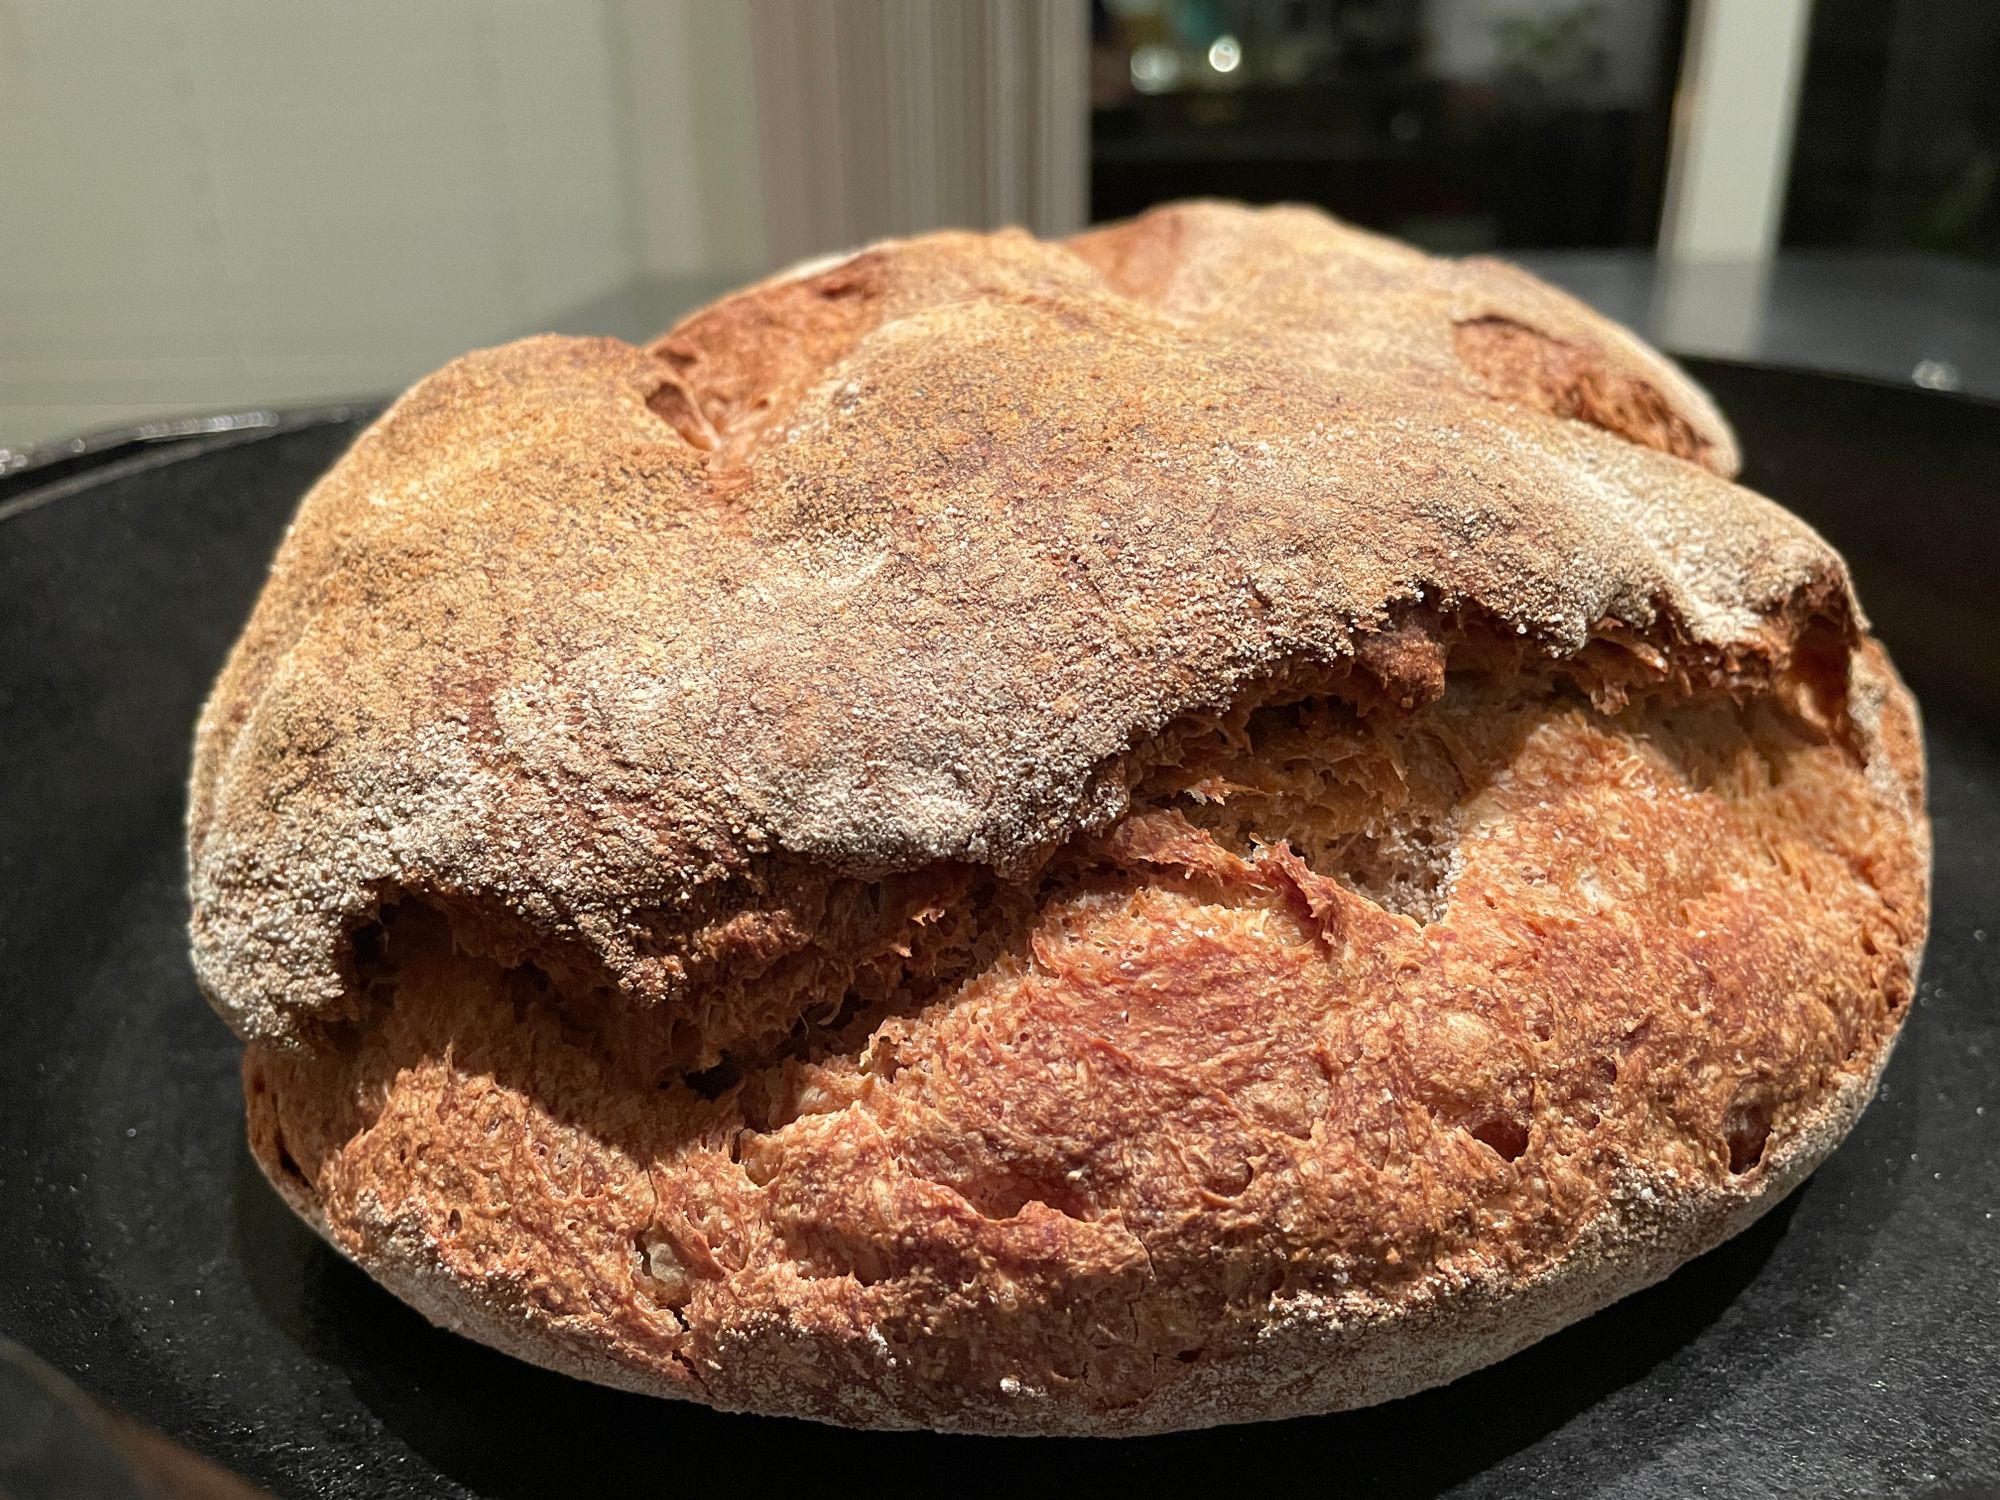
Your bread cooks from the outside in as heat is applied. This means the crust will set before the inside of your loaf, and that poses a big problem. As your loaf heats up, energy builds and the air pockets try to expand. If the crust hasn't set yet, then the whole loaf can expand to accommodate the pressure. If it has, that energy can't just disappear: it'll apply force to the crust dome until it breaks through.
I didn't fully appreciate how necessary scoring was. You need to cut pretty deep to prevent it from setting with the crust, and I've found that anything shallower than half an inch isn't enough.
If you're using scissors, you can make a couple deep snips. With a razor blade or knife you may need to make more than one pass to get the incision deep enough.
Steam your oven
Put the pan in the oven and go find your spray bottle. Fill it up with water and start spraying into your oven. The humidity in the oven will help prevent your crust from forming as quickly, which should allow your loaf to give you one final, rapid rise before the exterior sets. This is called "oven spring".
I spray until my oven doesn't look like it can get any more humid. Then I close the door and step away.
Bake
After 20 minutes at 550 degrees (or whatever you can get your oven up to), turn the oven down to 400 degrees Fahrenheit. If your oven has hot spots, use this opportunity to rotate your pan for a more even bake. Bake for another 30 minutes, or until the loaf makes a hollow sound when you knock on the crust.
Rest
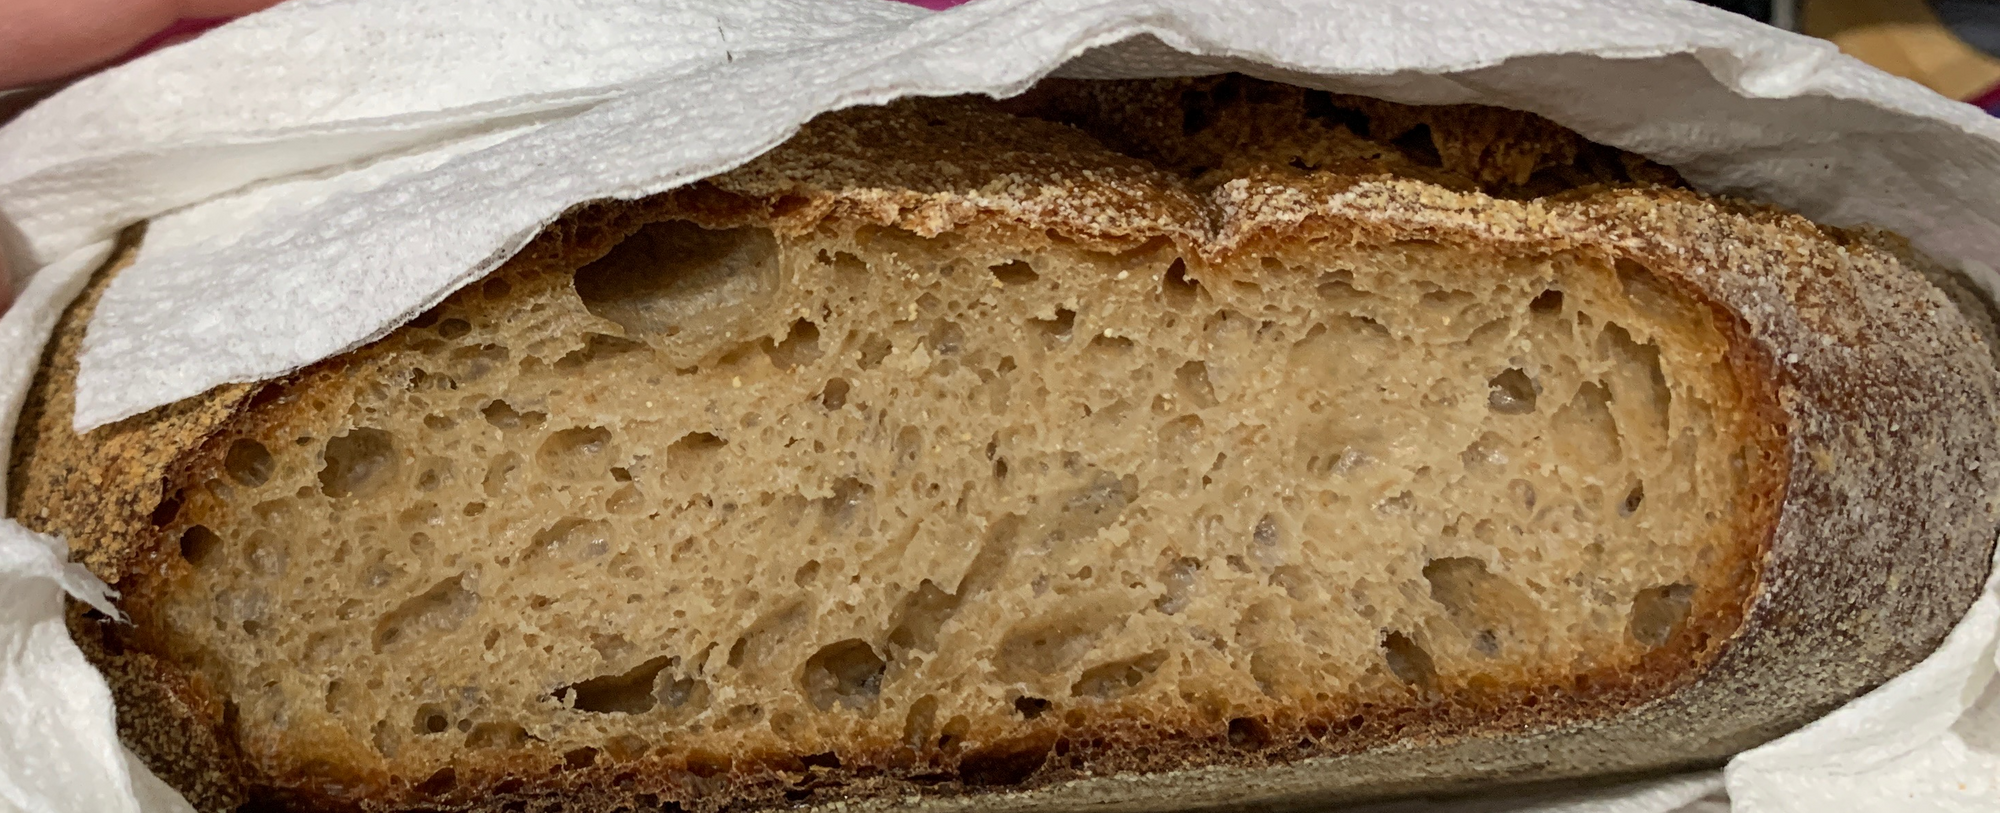
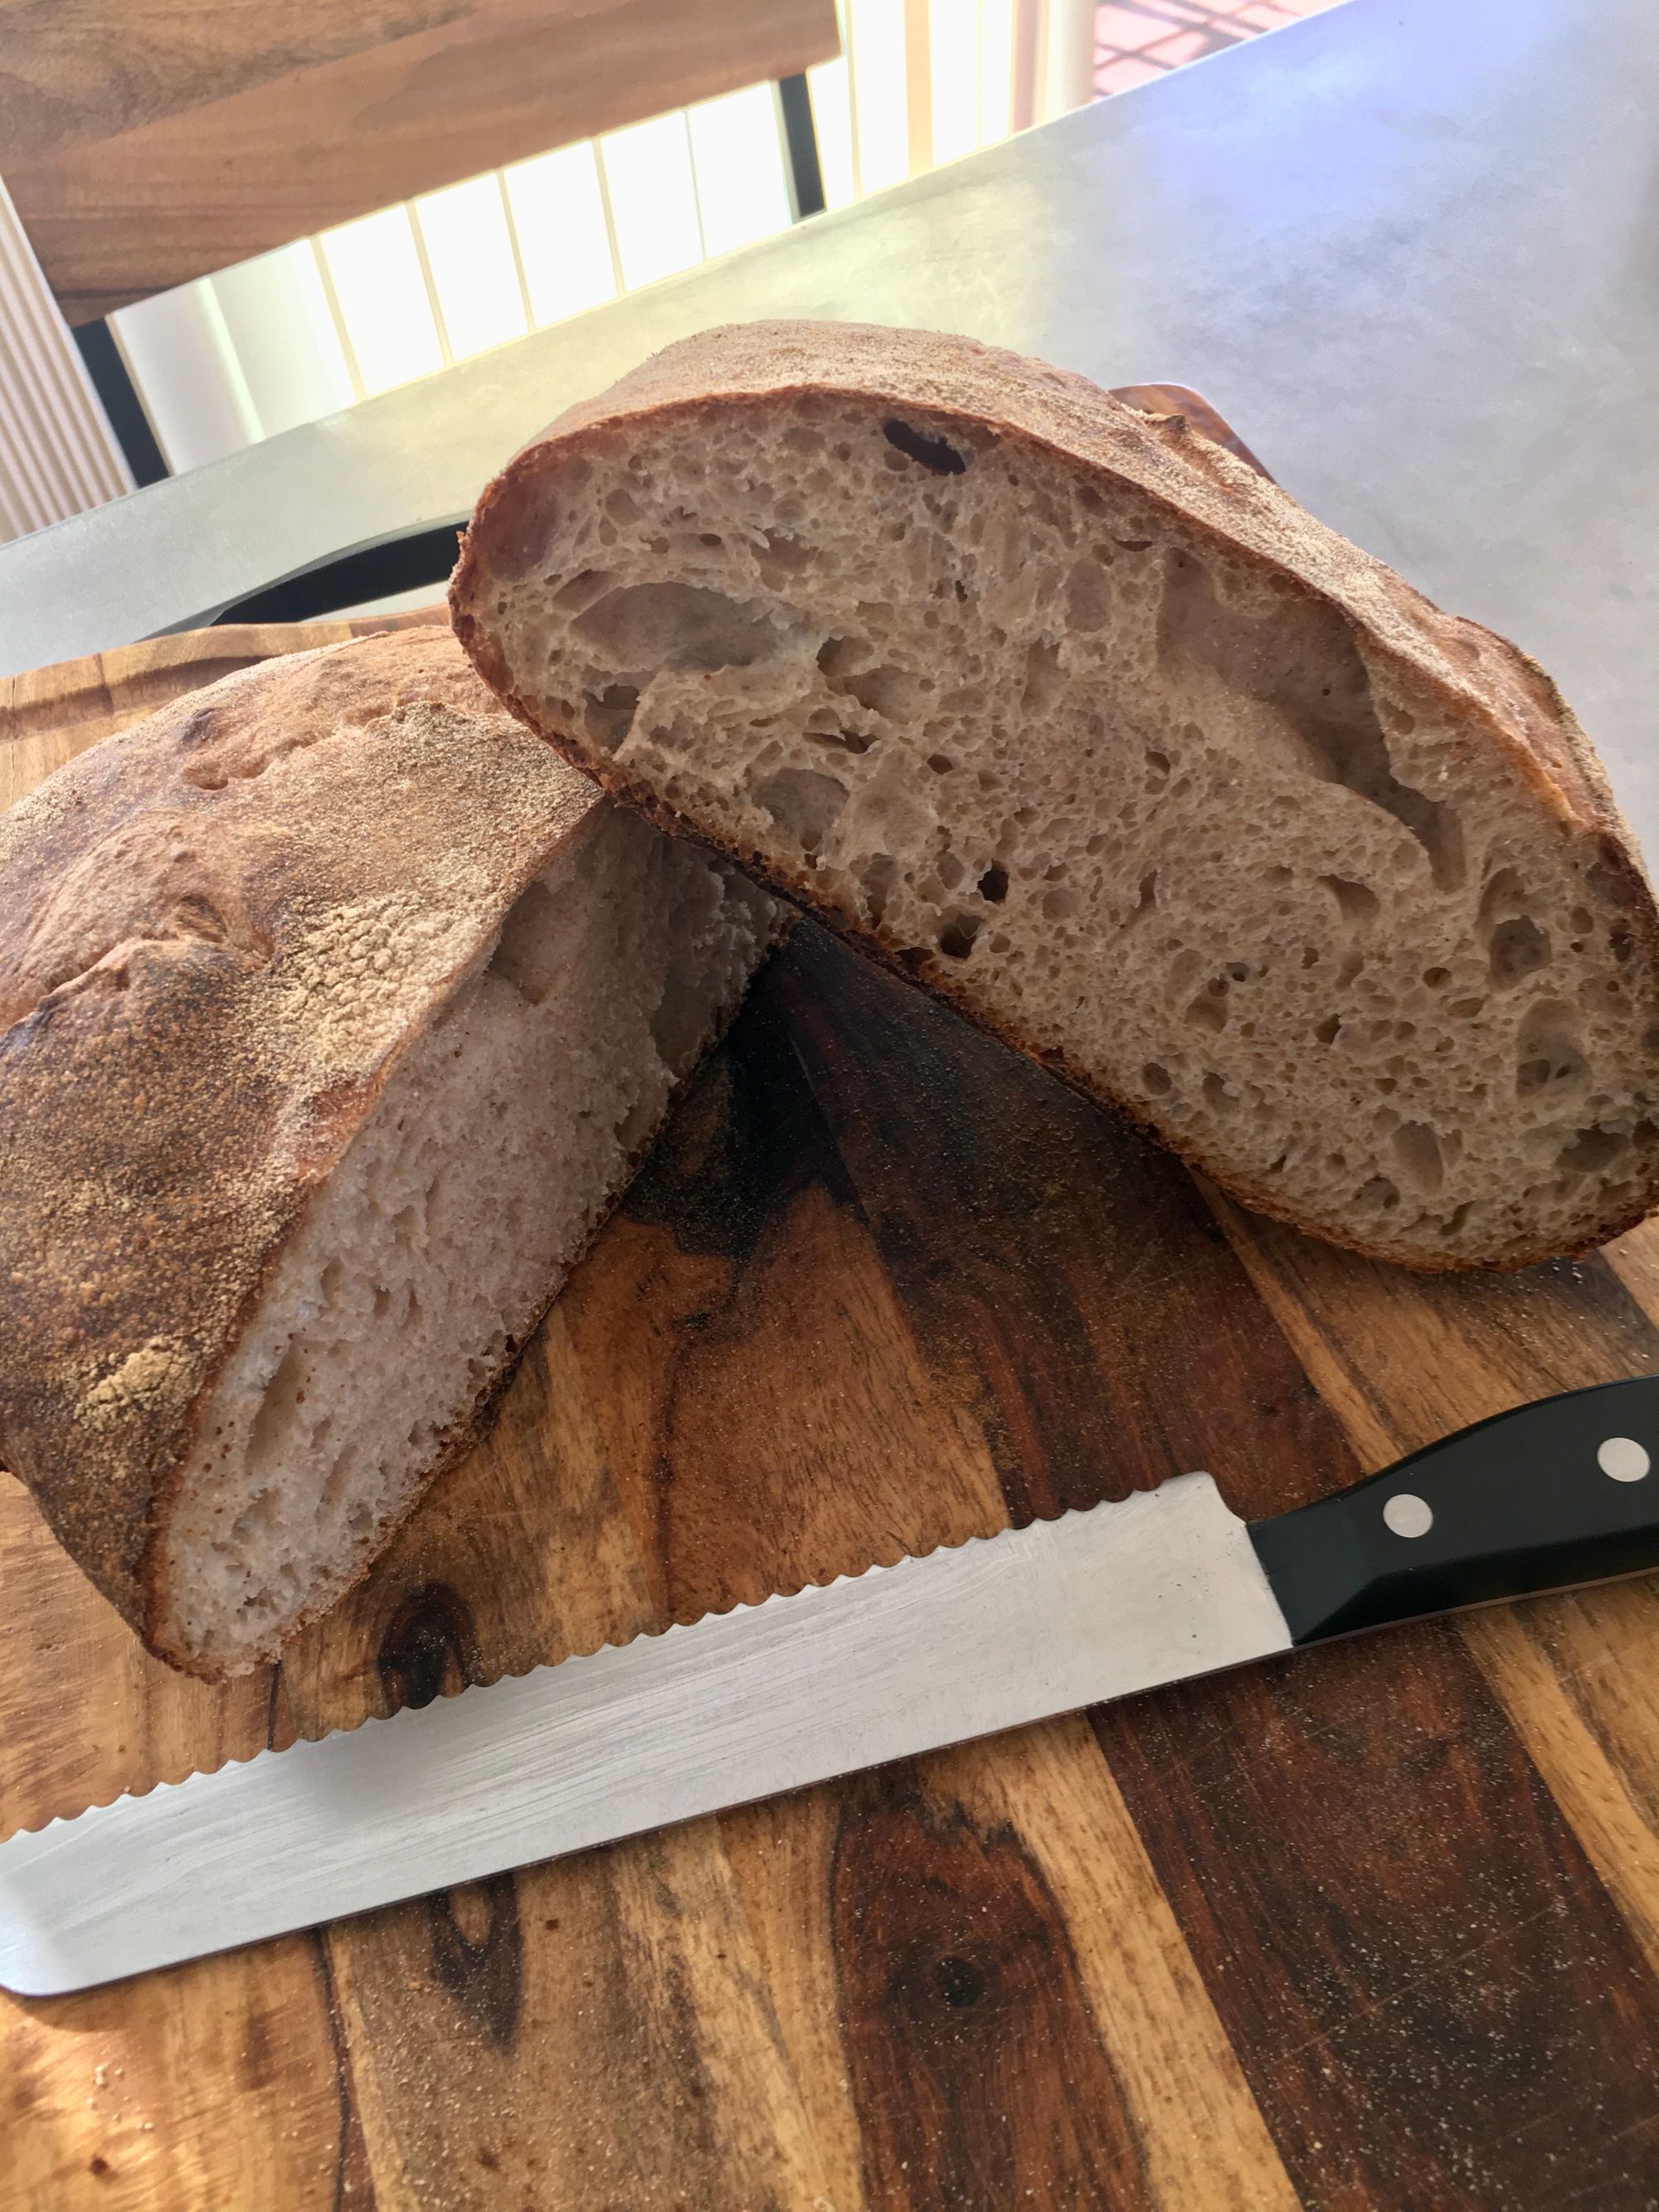
Warm bread smells so good, but you really, really, really need to wait at least an hour before you cut into your loaf. This is the hardest part of the process, but the result is worth it: an improperly rested loaf will be sticky and chewy (in a bad way).
I rest my loaf on my second oven rack. Cake racks are great but I don't own one, and the loaf should be sturdy enough to deal with the wide slats.
Serve